ChatGPT Image Editing: Sketch-to-Scene and Local Edits
Quick answer: Sketch a scene, generate the image, then make one local edit and inspect the whole result. Check object placement, reference fidelity and unintended changes. A polished image is not proof that every instruction was followed.
The useful instructional part of the AAS Images walkthrough is a simple composition exercise. Mike sketches a room, generates an image from that sketch, then marks a place where he wants a dog added. He also explores portrait styles using his own reference image.
This guide focuses on composing a scene and checking a local ChatGPT image edit, rather than treating a polished image as proof that every instruction was followed.
Begin with a composition you can compare
In the recorded Sketch interface, Mike draws two windows, a chair-like shape and a pet on the floor. The sketch is rough, but it communicates approximate placement and relative size.
The automatically prepared prompt asks for original artwork inspired by the sketch, preserving subject, emotion and gesture rather than the exact strokes. That makes the expected result a composition, not a literal tracing.
For your own first exercise, keep the number of objects small. Write down which positions and proportions matter before generating, so you have a basis for evaluating the result.
Inspect what the model changed
The returned image contains the room elements in roughly the intended arrangement. Mike comments on the window sizes and the chair placement. The pet is described differently across the narration, which is a useful reminder that approximate resemblance is not exact instruction compliance.
Compare the actual objects and relationships with the brief. Do not approve an image simply because it is polished. Check for missing elements, substituted objects and unwanted details.
Make one local image edit
Mike draws a new region and asks to add a dog there. A later image includes a dog in the requested area. That is the recorded successful edit.
A narrow edit makes evaluation easier. Specify what should change and what must stay intact. Then compare the whole image, not only the new object, because the source does not establish that every untouched area remains pixel-identical.
Use personal references deliberately
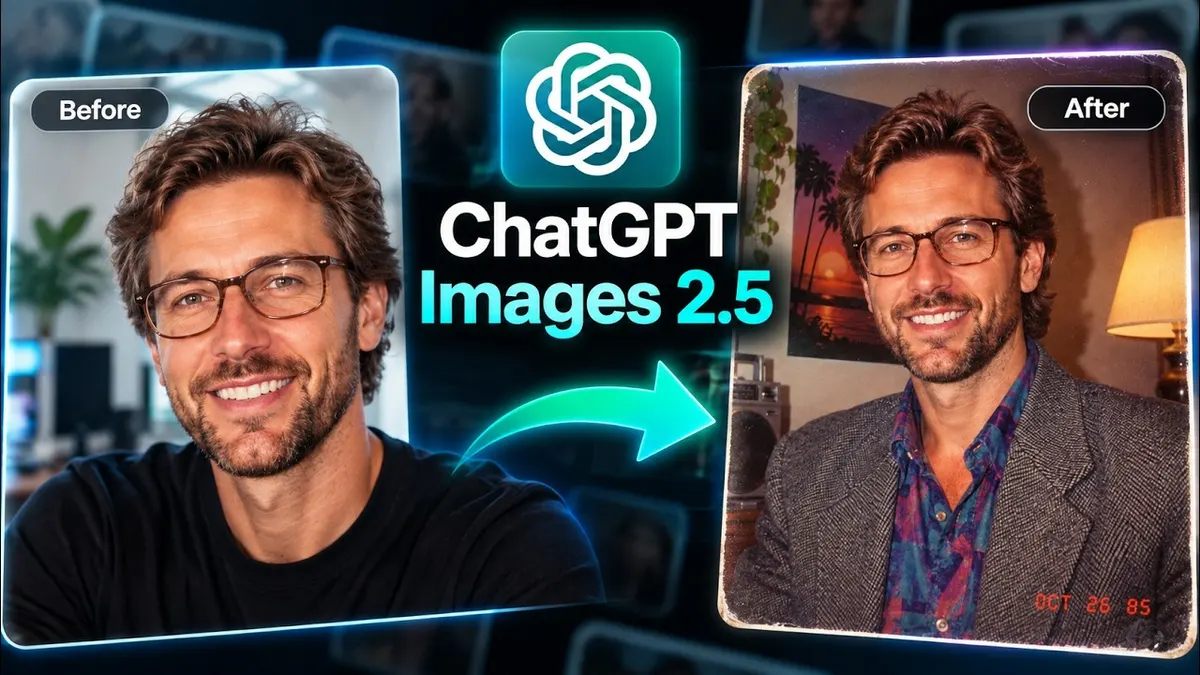
The recording also applies a 1980s-style treatment and a caricature prompt to Mike’s own image. The resulting artwork is stylized, not documentary evidence of an actual historical photograph. A later toy-style render introduces details he did not request.
Use a reference you own or have permission to use. Keep an original copy and inspect identity, accessories, setting and any text added by the model. Do not assume that a recognizable face guarantees every feature is faithful or that a generated scene depicts a real event.
Watch the walkthrough
FAQ
Do I need a polished drawing?
The recorded example uses a rough sketch. Clear placement is more important than reproducing Mike’s artistic style.
Will an edit preserve everything else?
Not established. Review the whole returned image after each change.
You may also like

Build the next one with AI Income Lab
Step-by-step courses, reusable templates, and a community that answers when you get stuck.
Members get the Claude Code & Skills and Codex Tutorials & Courses lessons.
- Courses for builds like this one
- Copy-ready templates
- Ask questions while you build
- Weekly coaching on VIP


